Hi guys, welcome back to Footage 2 You! Hope you’re doing great today. So, you’ve recorded some awesome clips on your phone, But when you open them, they just don’t have that professional or fully polished look like you see on Instagram or YouTube. Maybe your video color is a bit flat, or the pacing feels off, or you just don’t know how to put it all together without making it look messy.
even i used to feel the same in the beginning. If you want to create stunning and engaging videos that your audience love it, but you concern about the thought of a complex editing process with a steep learning curve.
That’s where your phone becomes a power tool. And in the world of mobile editing, one name has been a game-changer for years: KineMaster. This app has all basic to advance tools to make your editing work easy. So, in this article, i will breaking down exactly how you can edit amazing videos in KineMaster, turning your raw clip into content that shines.
First Step
First all you have to do is download KineMaster from the Google Play Store or Apple App Store which ever os you use. When you open it, you’ll see a clean interface with big ‘+’ button in the middle of the screen just tap on it to create a new project.
Then kineMaster will ask you to choose an aspect ratio. Examples given below
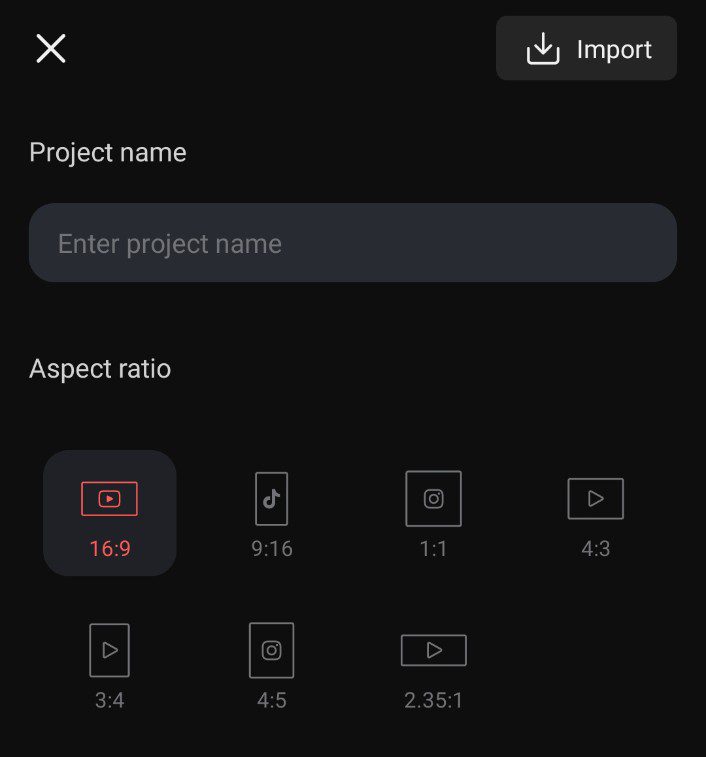
- For Instagram Reels & TikTok: Go with 9:16 (Portrait).
- For YouTube & Facebook: Go with 16:9 (Landscape).
You can always adjust this later, but it’s best to start.
Editing Workspace
Once you’re in, you’ll see the main timeline for better understanding i have attached image above for you. This is where the all magic happens. Think of it as your canvas. At the bottom, you have layers – this is the secret sauce that makes KineMaster so powerful.
- Layer 1: This is usually for your main video clips.
- Layer 2: Perfect for background music.
- Layer 3 & 4: Ideal for text, stickers, and extra visuals.
To add your first video, tap the Media Browser button and select your clips. They’ll pop right onto your timeline.
Cutting and Trimming unwanted parts
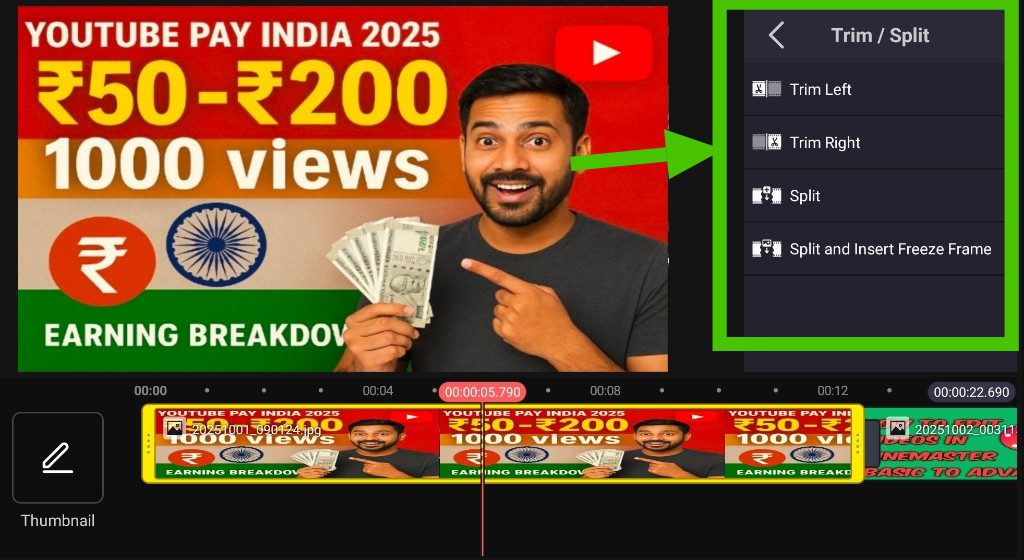
This is Editing 101. You probably don’t want your entire 3-minute clip. To trim, just tap on the clip in the timeline. You’ll see yellow handles appear on both ends. Drag these handles inward to cut out the parts you don’t need. If you want to split a clip in the middle? Move the playhead (the vertical line) to where you want to cut and tap the scissor icon. its that’s easy.
Add Audio To Your Video
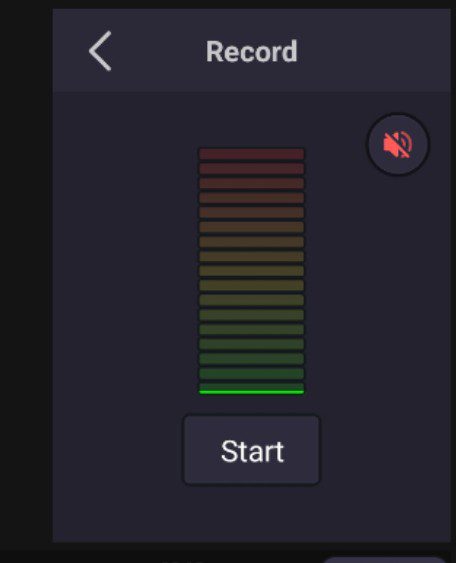
Great video needs great background music. To ad background music, Tap the Audio button (the musical note) to add a track. You can use:
- Your own music from your phone.
- KineMaster’s Asset Store which has tons of free royalty-free music and sound effects.
Pro Tip: Always adjust your audio levels. To do that, Tap on the audio track in the timeline and select Volume. Lower the volume of your background music so it doesn’t drown out your entire voice. This make your video sound good.
Add Text and Stickers
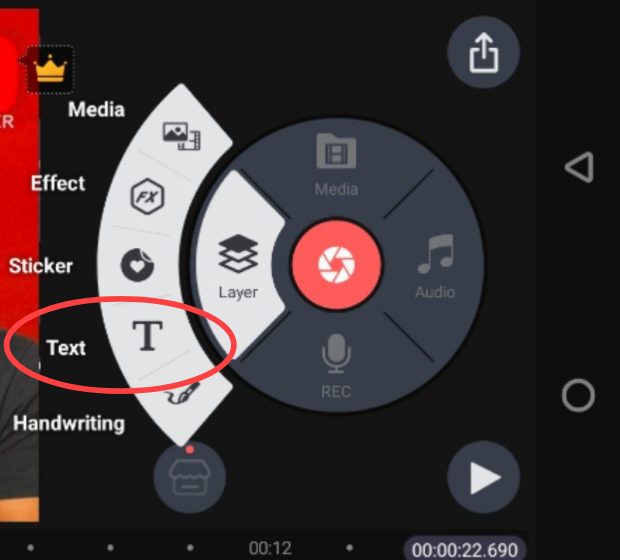
If you want to add a title, a caption or a funny emoji then Tap the Layer button (it has a plus sign) and select Text. Now type your message, and then choose the font you want from its inbuilt font library, color you want, and animations. Stickers work the same way and are perfect for adding a bit of personality.
Add Transitions
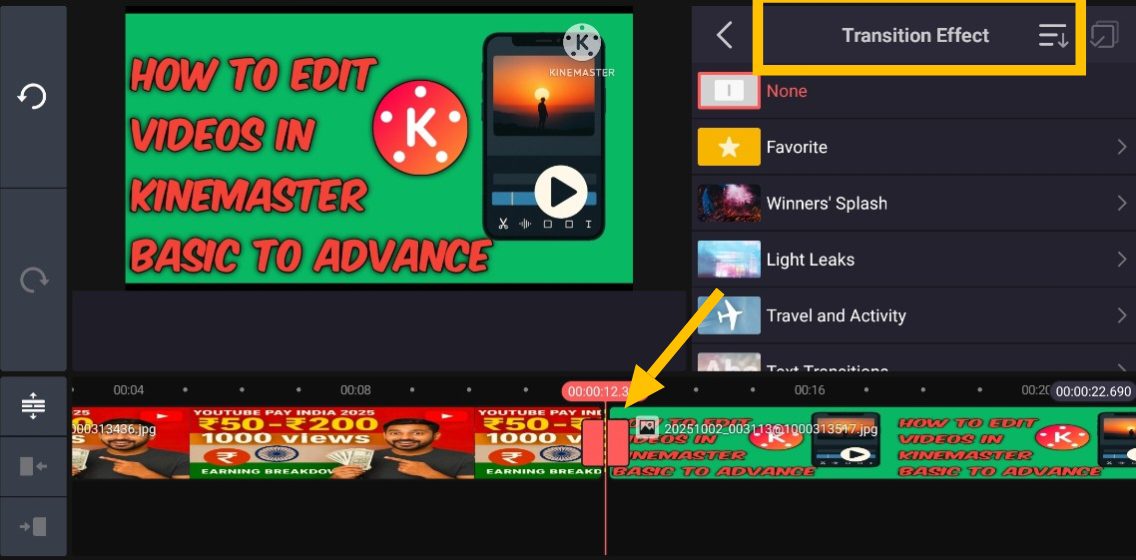
If you want to add transitions like Jump cuts which are look so cool, but sometimes you need a smooth flow between scenes. To add such transitions, Tap the small transition icon between two clips on your timeline. You’ll find classics like Fade, Dissolve, and Slide. Don’t overdo it, sometimes a simple fade is all you need to look like a pro editor.
Effects and Color Correction
Effects and color corrections are very important part for any video because this is where your video truly comes to life.
- Color Correction: Tap on a video clip and select Color Filter. Here, you can adjust the Brightness, Contrast, and Saturation of your video. A little adjust in saturation and contrast can make your video pop instantly!
- Visual Effects: Tap the Effect button (the magic wand) and drag an effect layer onto your timeline. You can apply effects like blur, glitches, or vintage looks to any specific parts of your video.
Keyframes and Blend Modes
- Keyframes: This sounds so technical for beginners, but it’s simple. It lets you create custom animations. Want a text to slide in from the side, grow bigger, and then spin? You can do that with keyframes. Tap on an element (like text or a sticker), tap the little keyframe icon, and set a point. Then move the playhead, change the element’s position or size, and set another keyframe. KineMaster will animate the movement for you!
- Blend Modes: This is for the creatives. Found in the color adjustment menu, blend modes let you layer clips to create cool, cinematic overlays. Try the “Screen” or “Overlay” mode for some really artistic effects.
Exporting
You’re done! Now, to save and share your work, tap the Export Button which you will see on the top right side of your screen. KineMaster will render your video.
A quick note: The free version of KineMaster will add a small watermark on top right side of your video, If you want to remove that water mark and unlock all other premium features like more assets and no ads then you need to buy a there subscription. But the free version also still incredibly powerful for learning and creating awesome videos.
Conclusion
One thig here you have to remember is the best way to learn is by doing. Don’t be afraid to tap every button and see what it does in your video. Use it to overcome your all creative blocks, Automate repetitive tasks like trimming, and to enhance your ideas with professional level effects and animations.
By combining KineMaster’s tools and your unique vision you can create stunning videos for yourself. Hope this article is helpful for you!